Written by Rob Kainz | April, 13 2023
Wallawallet isn’t just a great mobile crypto wallet for Hedera users, it’s also a great wallet for Hedera developers, providing some important conveniences to increase developer efficiency:
- Manage Multiple Wallets
- Switch between Hedera mainnet and testnet networks
- Use keychain/1password to Restore Wallets (testnet only)
- Create Hedera Accounts
- Associate tokens to accounts
- Transfer HBAR, fungible and non-fungible tokens between accounts
- View Token Metadata
Manage Multiple Wallets
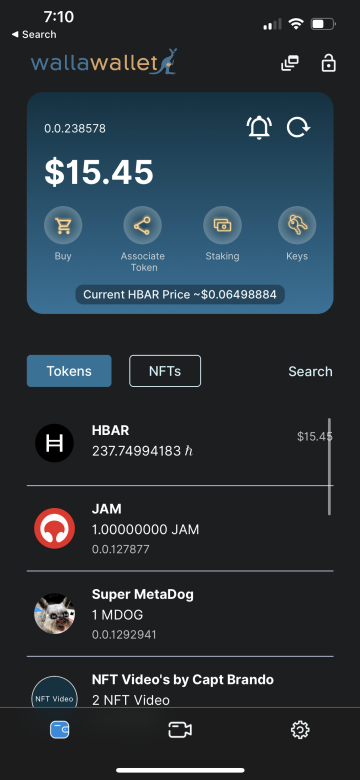
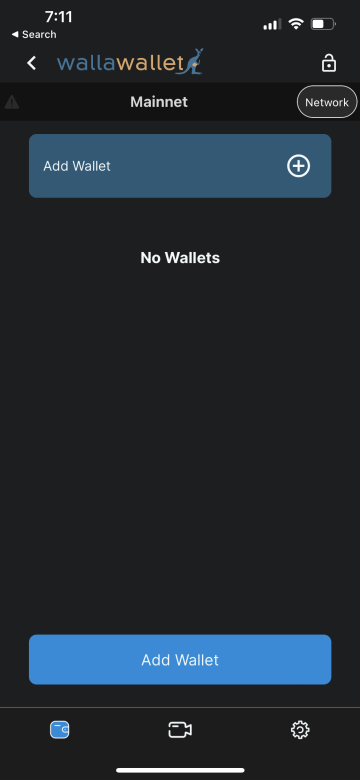
To get to the multiple wallets screen, just click on the “multiple wallets” icon, which is the small icon between the Wallawallet header logo and the lock icon. From the next screen, you can create multiple wallets. In Wallawallet, each wallet is a recovery phrase, which can then be associated with zero or more Hedera accounts that you can create. To select another wallet and account you have already created, just click on the multiple wallets icon from the currently selected account details screen and then tap on the desired wallet card and then the desired account card to switch to that wallet’s account details screen.
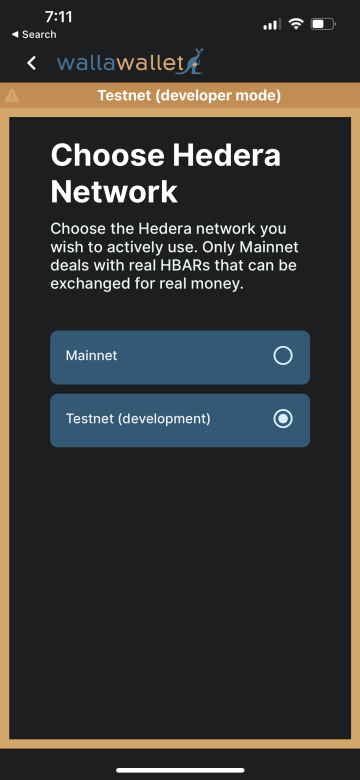
Switch between Hedera mainnet and testnet networks
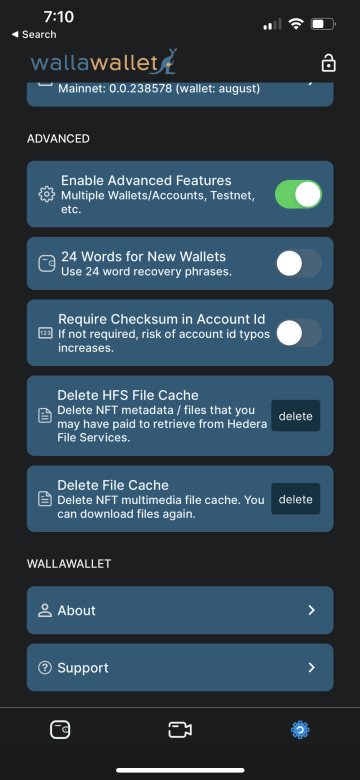
In order to use the testnet, you must have the advanced setting enabled so that you can get to the multiple wallets icon.
- Click the multiple wallets icon
- Click the Network button
- Choose the network you want
- Click the back button
Use keychain/1password to Restore Wallets (testnet only)
This feature is currently only supported for testnet wallets. Let’s face it, as a developer it can be a big hassle to restore multiple wallets in Wallawallet given its focus on strong security. But the testnet doesn’t deal with real money so as developers of Wallawallet we recognize the need for conveniently and quickly restoring wallets and the accounts they hold. While we still do not store anything in the cloud, on the testnet we do now allow you access recovery phrases you may have stored either in your keychain or a password manager like 1password. It is still up to you as to whether or not you want to use these services, but if you find it convenient and there’s no harm to trusting them with your testnet wallet keys then Wallawallet has your back. 1password can be particularly useful for dev/QA teams as it is very easy to share password vaults with team members so that everyone has access to the same wallets.
Saving a Recovery Phrase in the Keychain (IOS example)
- On the Restore Wallet screen, place your cursor in either the “Wallet Name” or “Wallet Recovery Phrase” field
- Click the IOS key icon that appears directly above the right side of the keyboard
- Select “iCloud Keychain…” (or the password manager you want to use, if you see multiple options)
- Click the plus (+) icon to create a new “AutoFill Password”
- Keep the default “Website” as “app.wallawallet.com”
- Enter the wallet name as the “User Name”
- Enter the recovery phrase as the “Password”
- Save the new user / password
Create Hedera Accounts
Once you have a wallet and account with HBAR in it, you can set it as the payment account in Wallawallet settings and it will be used to create additional accounts.
View Token Metadata
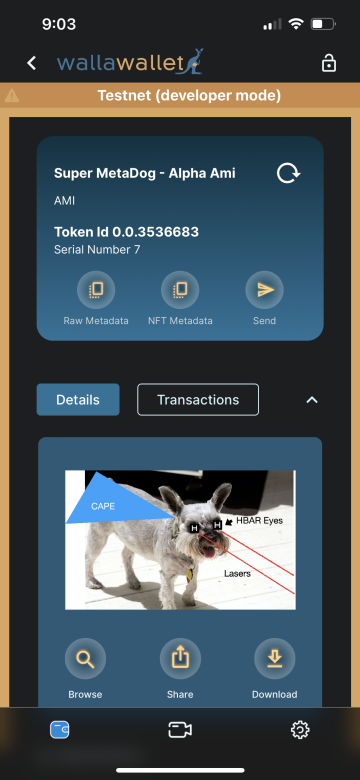
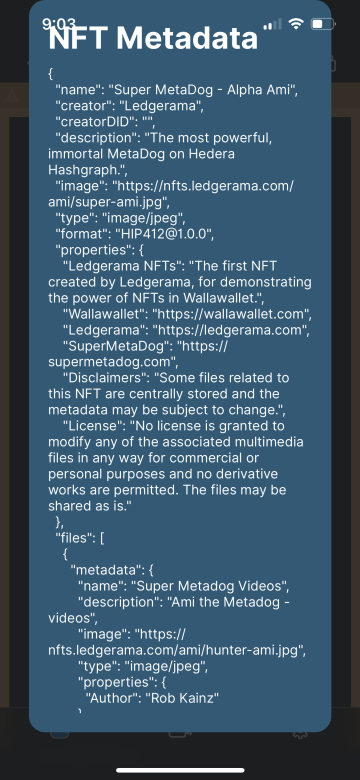
While browsing an NFT in either mainnet or testnet with Advanced Features enabled, you will see the “Raw Metadata” and “NFT Metadata” buttons. Raw metadata will show you the metadata stored in the token’s metadata field on the Hedera ledger. NFT Metadata will show you the metadata that it resolves to, if it’s pointing to metadata either on IPFS or some web server. (If it’s hosted on HFS, you’ll have to pay to download the metadata first.) In either case, if you select and hold down the metadata shown in the popup dialog, that metadata will be copied to the clipboard. This makes it easy for developers to diagnose potential issues with NFTs that users are reporting.
You can browse metadata for fungible tokens too, but keep in mind that the standard Wallawallet supports now, HIP405, will likely be replaced by another HIP, like HIP646.
